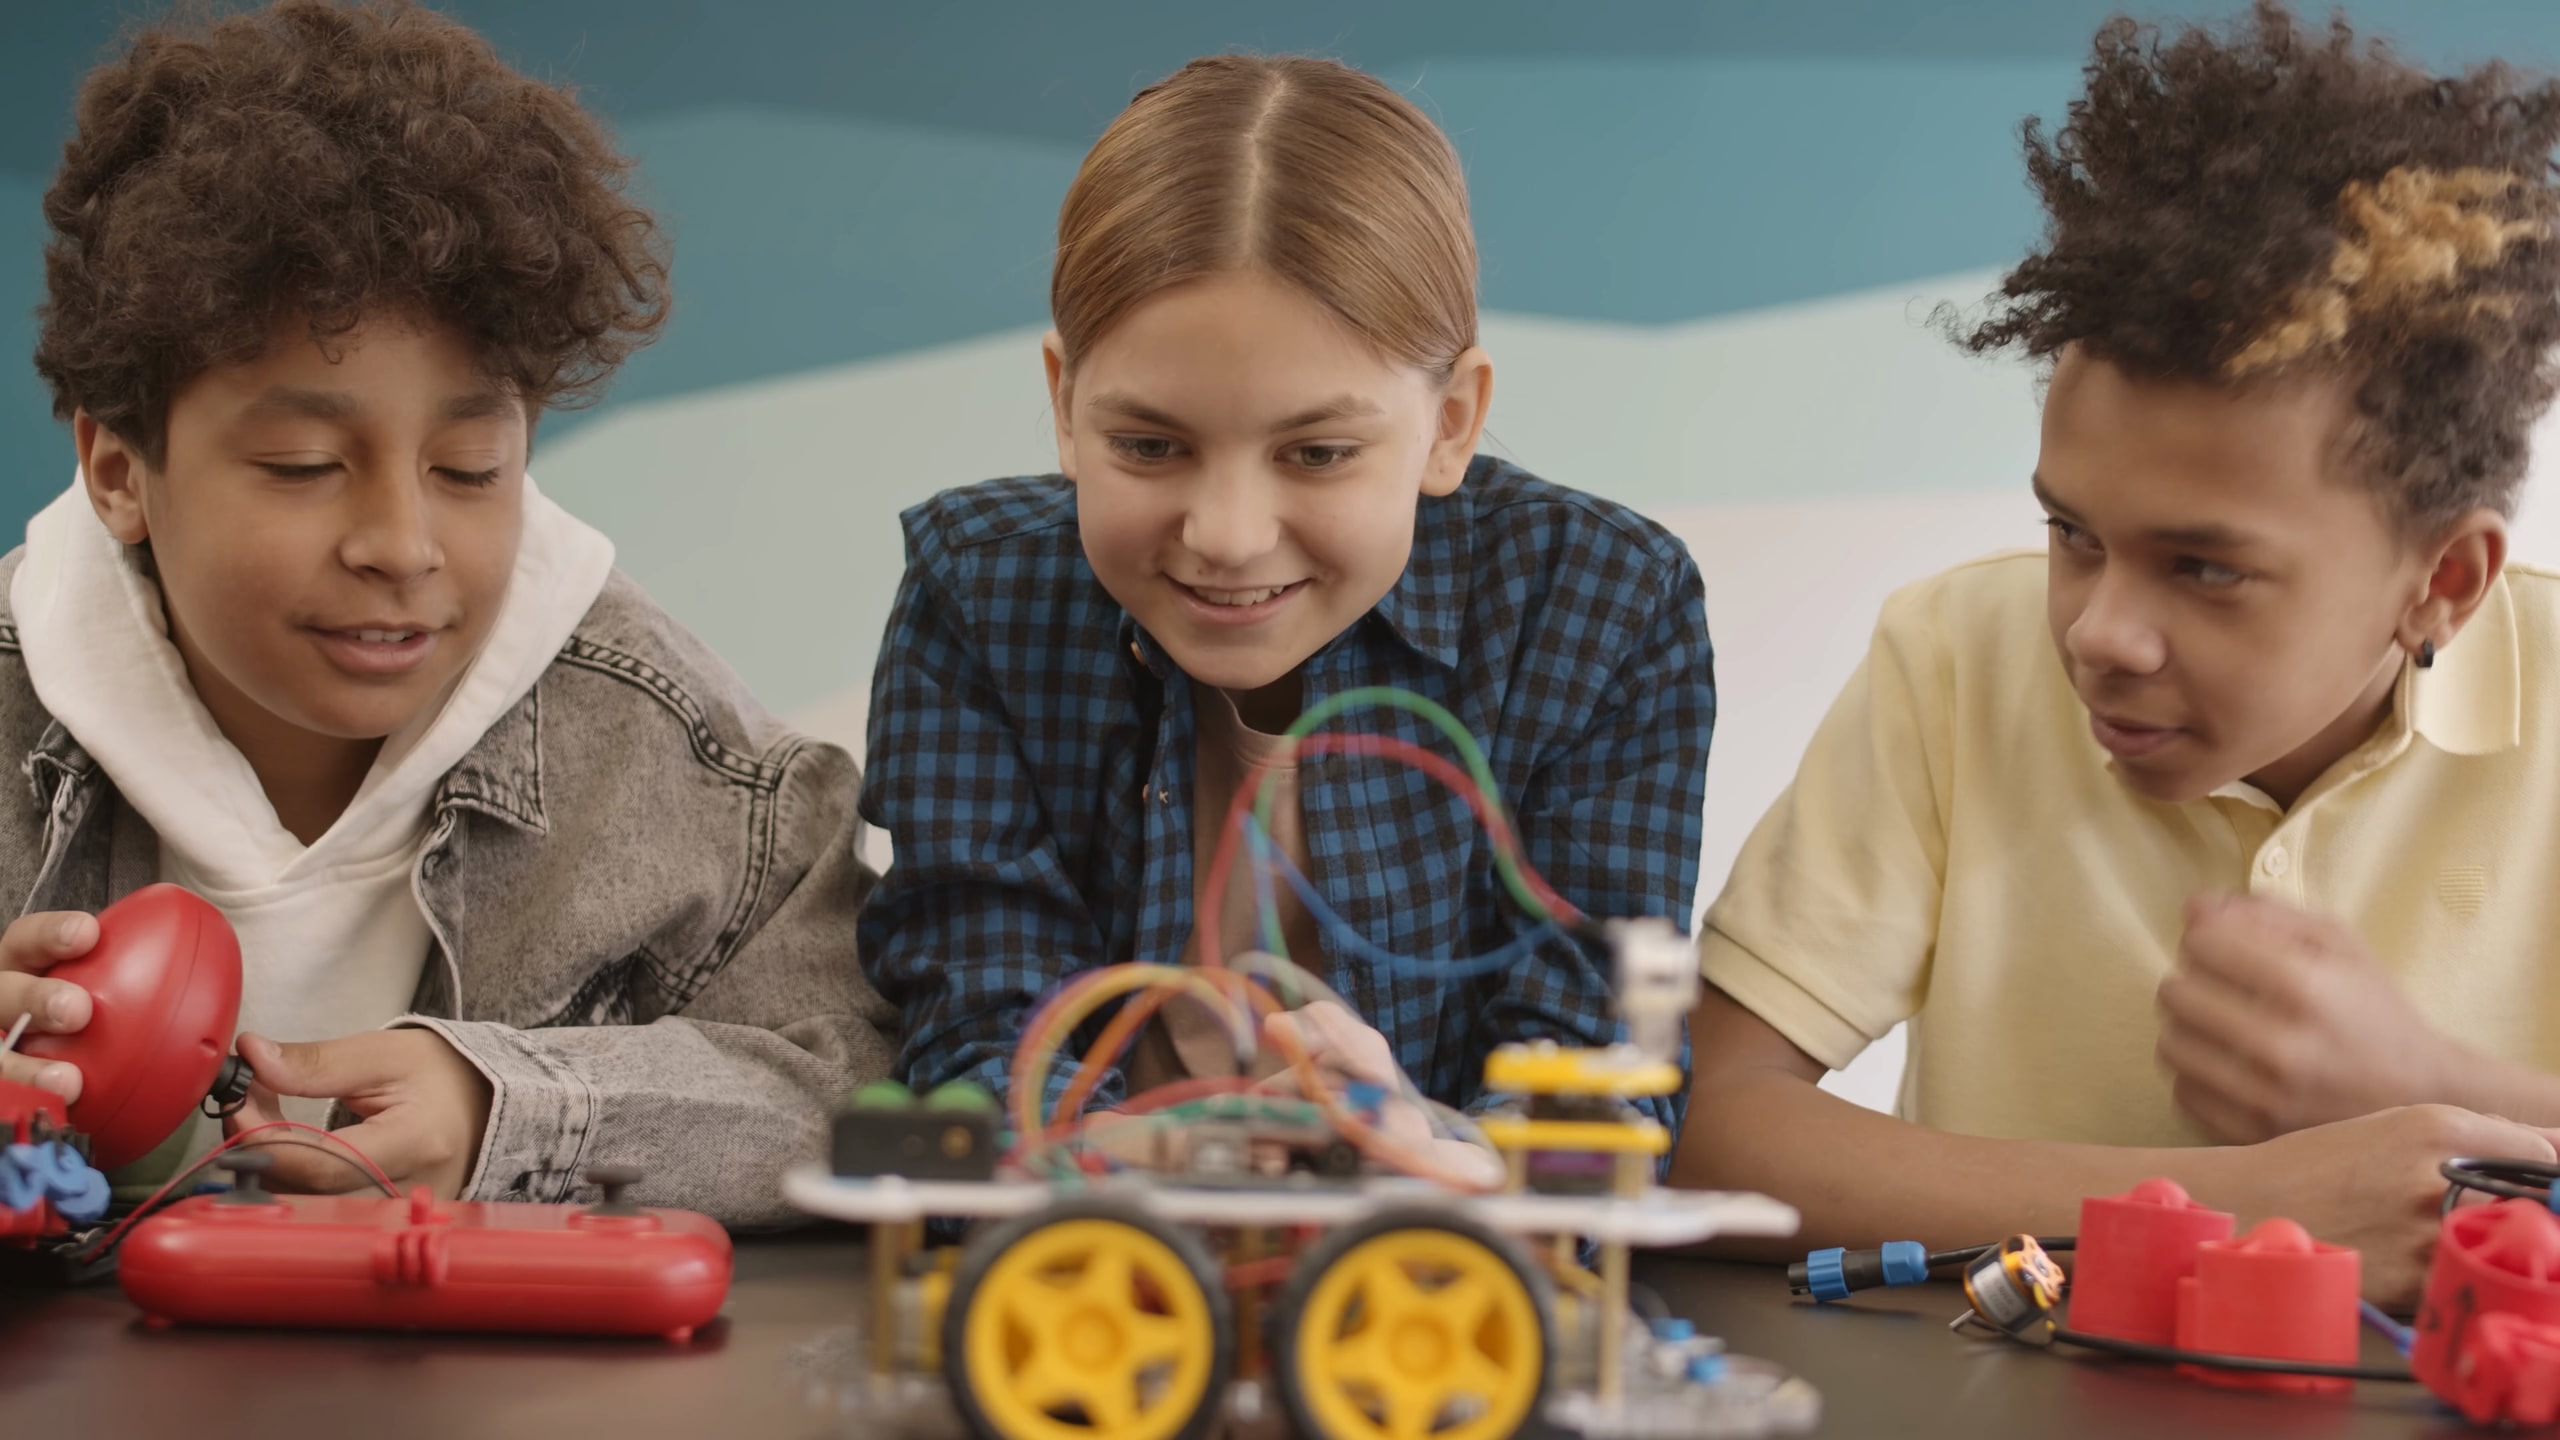
Don't just learn technology. Build it.
From CBC classroom concepts to practical skills in electronics, programming, robotics, and IoT.
Designed for the Kenyan CBC Curriculum
Learn
Everything a Learner Needs, in One Place
How STEMA connects to class, the skills learners gain, the parts they use and the projects they finish.
From Classroom to Prototype
Every activity starts from a concept learners already meet in class, then turns it into something they can wire, code and test.
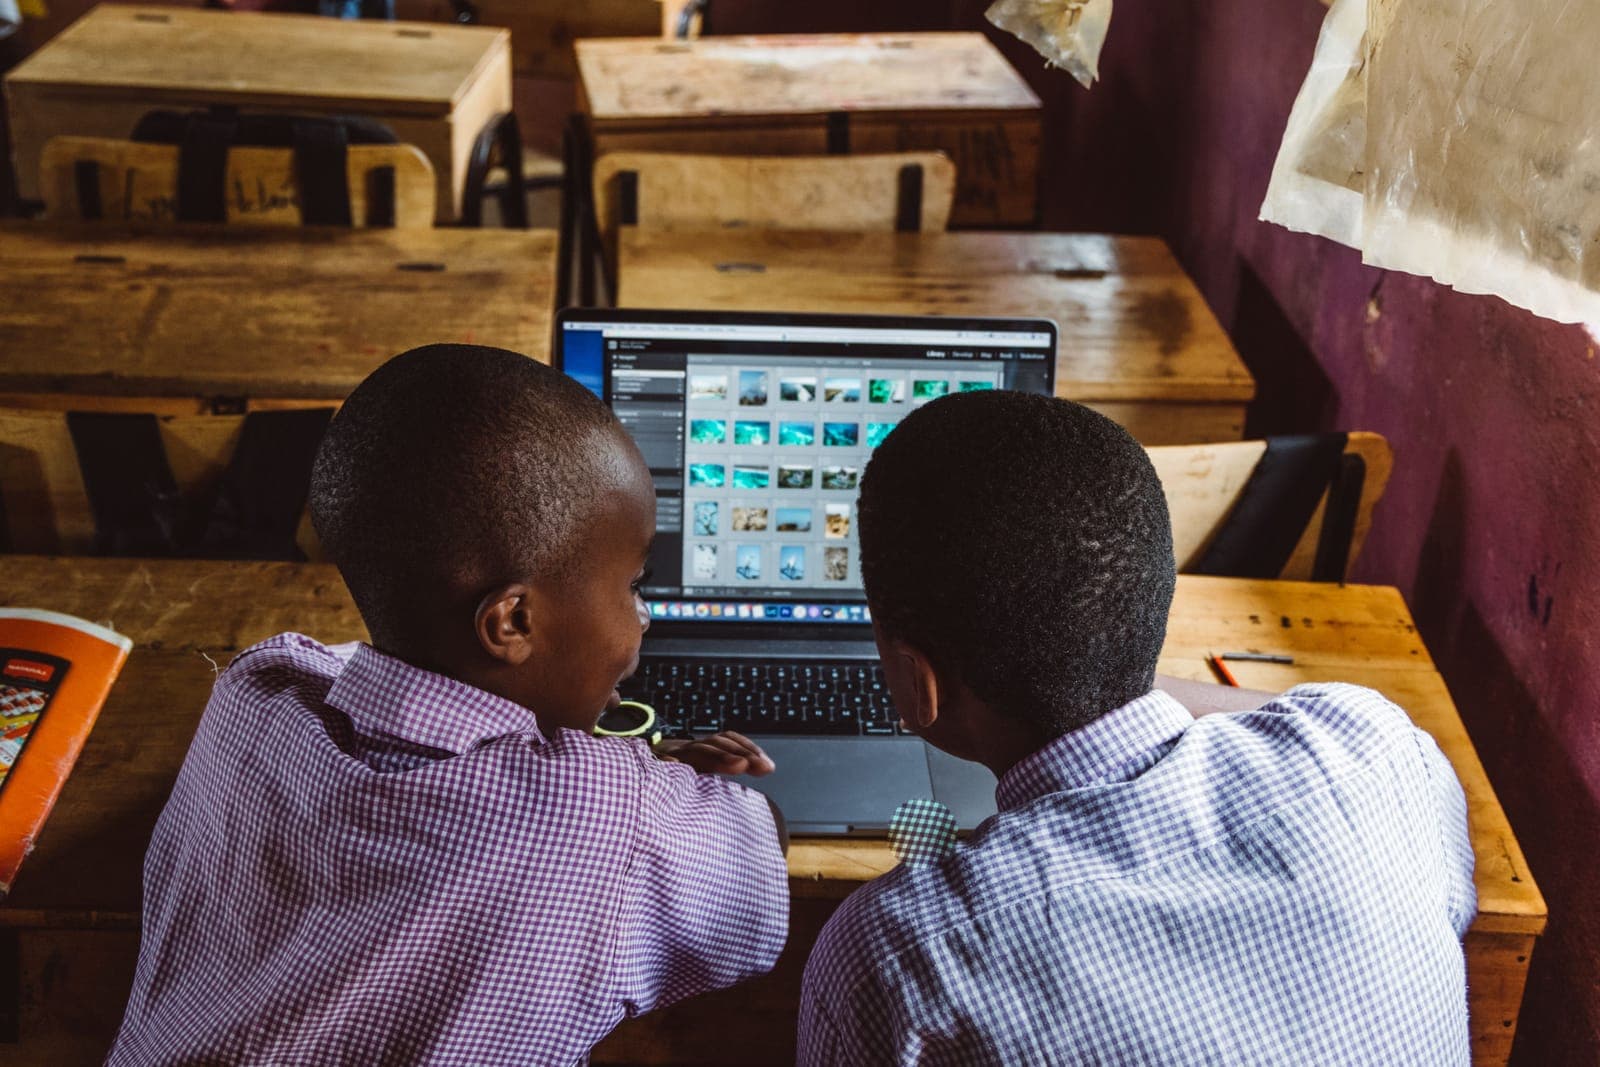
Pre-Technical Studies
In class
Electrical circuits
Hands on
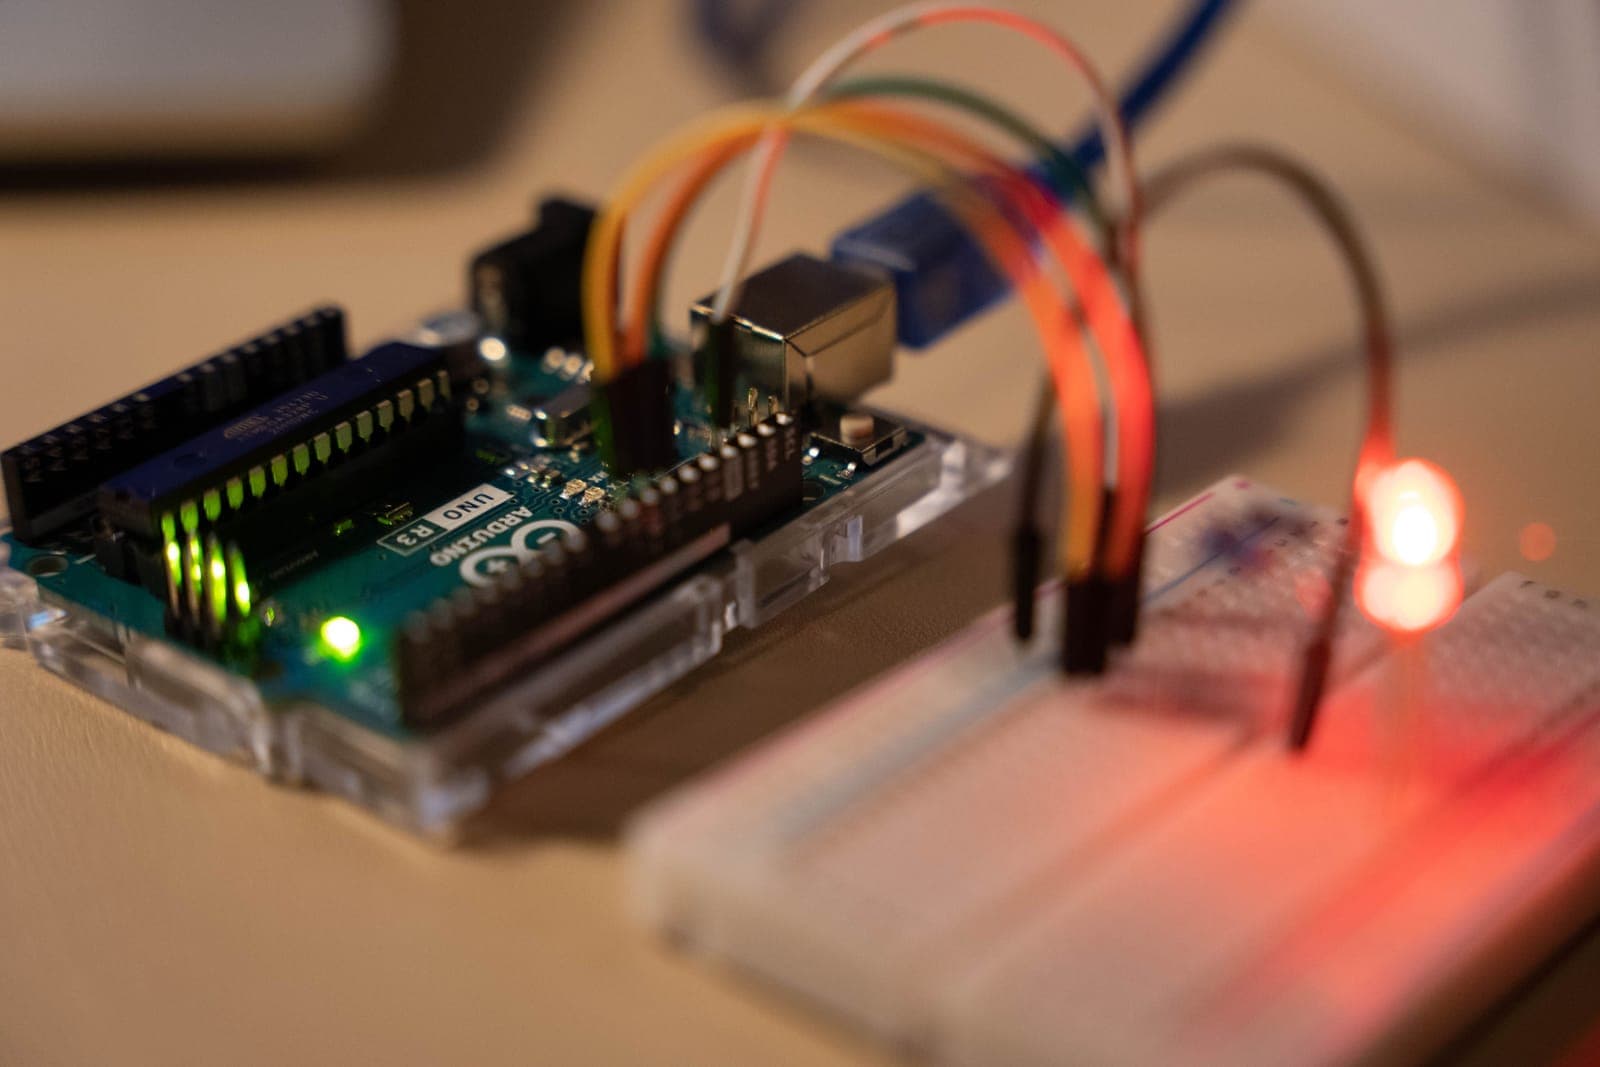
Assemble and test real circuits on a breadboard.
Integrated Science
In class
Environment and energy
Hands on
Measure light, temperature and humidity with sensors.
Mathematics
In class
Data and graphs
Hands on
Plot live sensor readings as graphs and interpret the trends.
Agriculture
In class
Soil and irrigation
Hands on
Monitor soil moisture and automate watering for a school garden.
Digital Skills
In class
Logic and programming
Hands on
Write if/else logic that makes real hardware respond.
Curriculum mappings are curriculum-informed supplementary learning and are not official KICD endorsements.
Five Skills That Turn Learners Into Builders
A clear progression from a first blinking LED to connected systems that solve real problems at school and at home.
Arduino
Program real hardware: digital and analog pins, timing, logic and debugging with the Serial Monitor.
- setup() and loop()
- Variables and conditions
- Uploading sketches
Electronics
Voltage, current and resistance in practice, from Ohm's law to breadboarding and reading circuit diagrams.
- Ohm's law
- Breadboarding
- Multimeter use
Sensors
Let projects sense the world: light, distance, temperature, humidity, motion and soil moisture.
- analogRead()
- Calibration
- Voltage dividers
Outputs
Make things happen with LEDs, buzzers, servos, relays and pumps, driven safely from a microcontroller.
- PWM control
- Servo angles
- Relay switching
IoT
Connect projects to Wi-Fi with the ESP32 to monitor and control systems from a phone.
- Wi-Fi basics
- Web dashboards
- Automated control
Know Your Parts Before You Wire Them
What each component does, how it works, how to connect it and how to use it safely.
- Ask the Mentor
Not sure which part you need?
Describe your idea and the mentor will suggest the components.
Projects Learners Can Finish and Be Proud Of
Each project lists the parts, explains the circuit and includes working Arduino code to study, change and improve.
- A full parts list
- A step-by-step circuit
- Working code to study and change
Build
From an Idea to a Working Project
Describe what you want to make, get help when you are stuck, and experiment before touching the hardware.
Turn an Idea Into a Project Plan
Describe any project in your own words and get the parts, wiring, code and an explanation. Or paste your own code and have it checked.
Sample: Smart Dustbin
An example of the project blueprint you'll get.
Wiring Diagram
- Arduino UNO 5V to HC-SR04 VCC
- Arduino UNO GND to HC-SR04 GND
- Arduino UNO D9 to HC-SR04 Trig
- Arduino UNO D10 to HC-SR04 Echo
- Arduino UNO 5V to Servo (SG90) Red
- Arduino UNO GND to Servo (SG90) Brown
- Arduino UNO D6 to Servo (SG90) Orange
Drawn from the AI's plan. Check it against the Wiring Guide, then ask a teacher to check your circuit before powering it.
Warning: AI-generated code and wiring instructions are for learning purposes. Always verify with a teacher or qualified supervisor before powering a circuit.
Recommended Parts
- Arduino UNO + USB cable
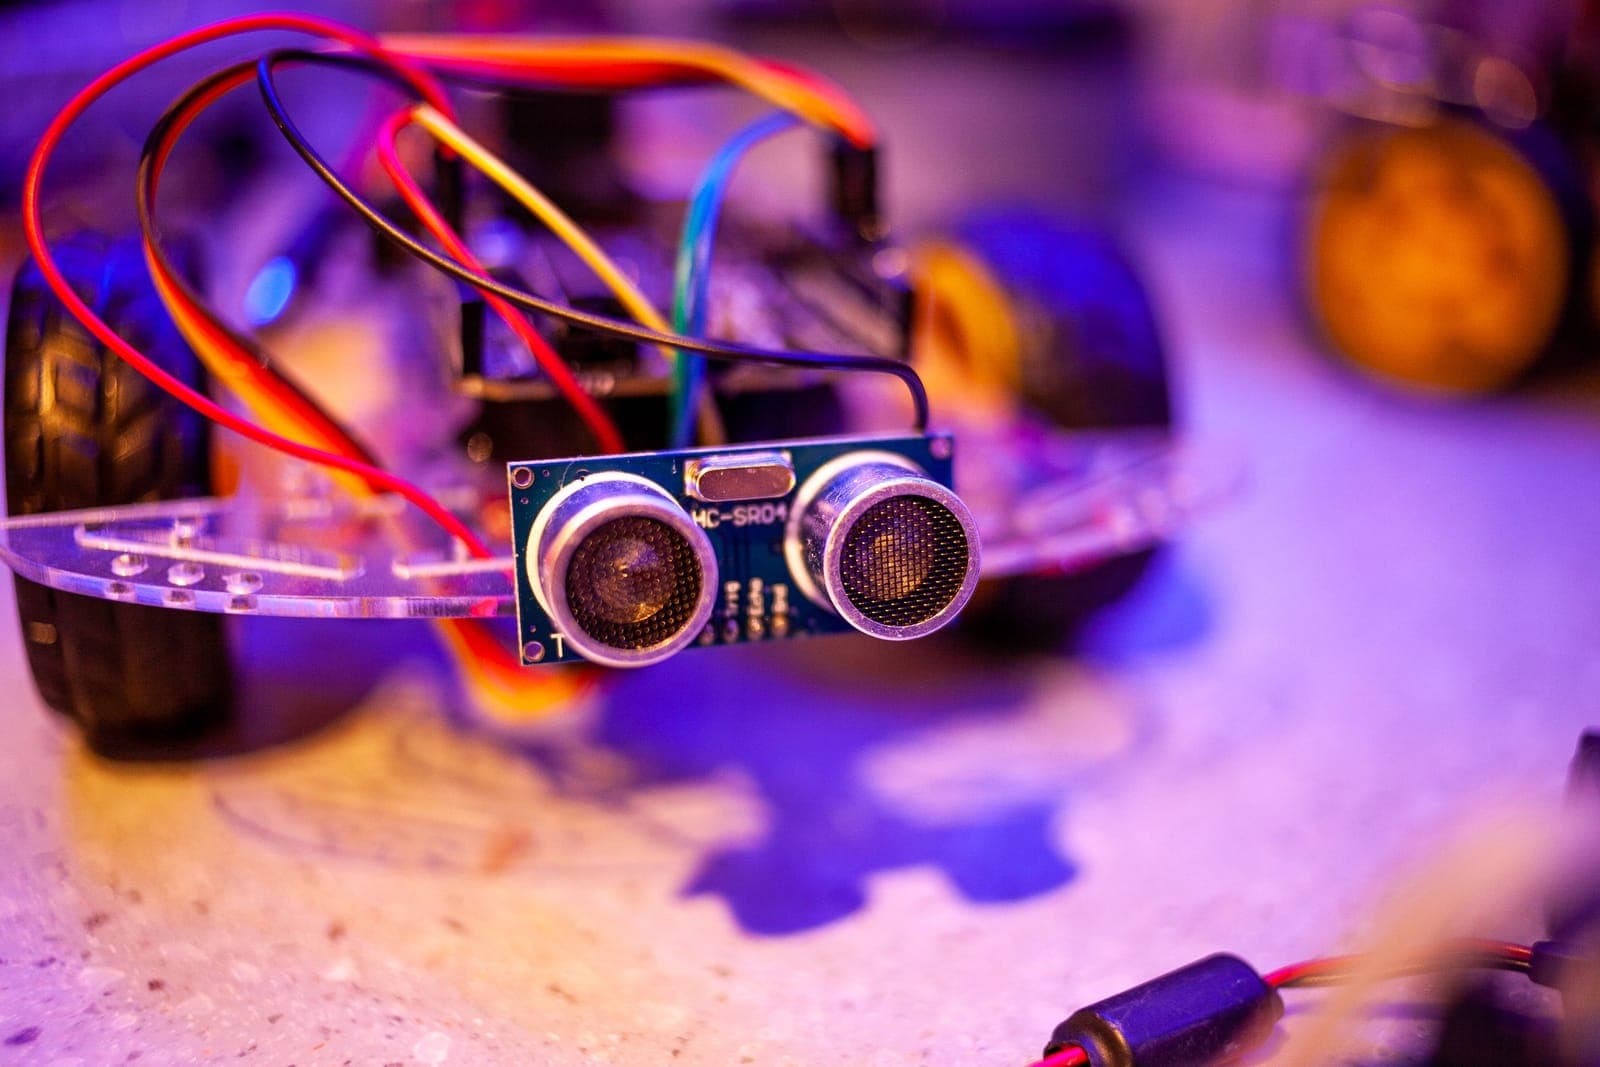
- Ultrasonic sensor (HC-SR04)
- Servo motor (SG90)
- Breadboard & jumper wires
Wiring Guide
- HC-SR04: VCC → 5V, GND → GND, Trig → D9, Echo → D10.
- Servo: brown → GND, red → 5V, orange → D6.
- Connect every GND to one common ground rail.
How it Works
Arduino UNO reads Distance (HC-SR04) and controls Servo motor. When any input crosses its threshold, the outputs turn on.
- Disconnect power, then wire the circuit using the wiring list below.
- Install from the Arduino Library Manager: Servo.
- Select "Arduino UNO" and the correct port in the Arduino IDE, then upload.
- Open the Serial Monitor at 9600 baud and watch the readings.
- Adjust the threshold values until the project reacts the way you want.
Safety notes
- Always disconnect power before changing the wiring.
- Use low-voltage power only (12V DC or less). Mains electricity must be handled by a qualified adult.
- ESP32 pins are 3.3V only. A 5V signal can permanently damage the board.
- Motors, pumps and several servos need their own power supply and a shared ground, not a board pin.
- Keep water away from the electronics.
Testing & Troubleshooting
- Open the Serial Monitor at 9600 baud and hold your hand 10cm from the sensor. The distance should change as you move.
- If the distance stays at 0, check the Trig and Echo wires are not swapped.
- If the servo shakes or the board resets, give the servo its own 5V supply and share GND.
Your review will appear here
- Syntax errors, such as missing semicolons or brackets
- Missing libraries the code needs
- Pin conflicts, where two parts share one pin
This is an AI reading your code, not a compiler, so it can miss problems or be wrong. Always upload and test it.
Warning: AI-generated code and wiring instructions are for learning purposes. Always verify with a teacher or qualified supervisor before powering a circuit.
Meet Your AI Mentor.
Describe an idea in your own words. The mentor helps you plan the parts, wire the circuit and understand the code.
Guides, doesn't just answer
Asks questions so learners reason through each step.
Parts, circuit, then code
Breaks an idea into stages a learner can test one at a time.
Safety built in
Steers learners away from mains power and unsafe wiring.
STEMA Mentor
Electronics, Arduino & IoT
Enter to send, Shift+Enter for a new line.
AI-generated: check with a teacherExperiment Before You Touch the Hardware
Guided experiments are coming in Phase 2. Until then, try the night-light preview.
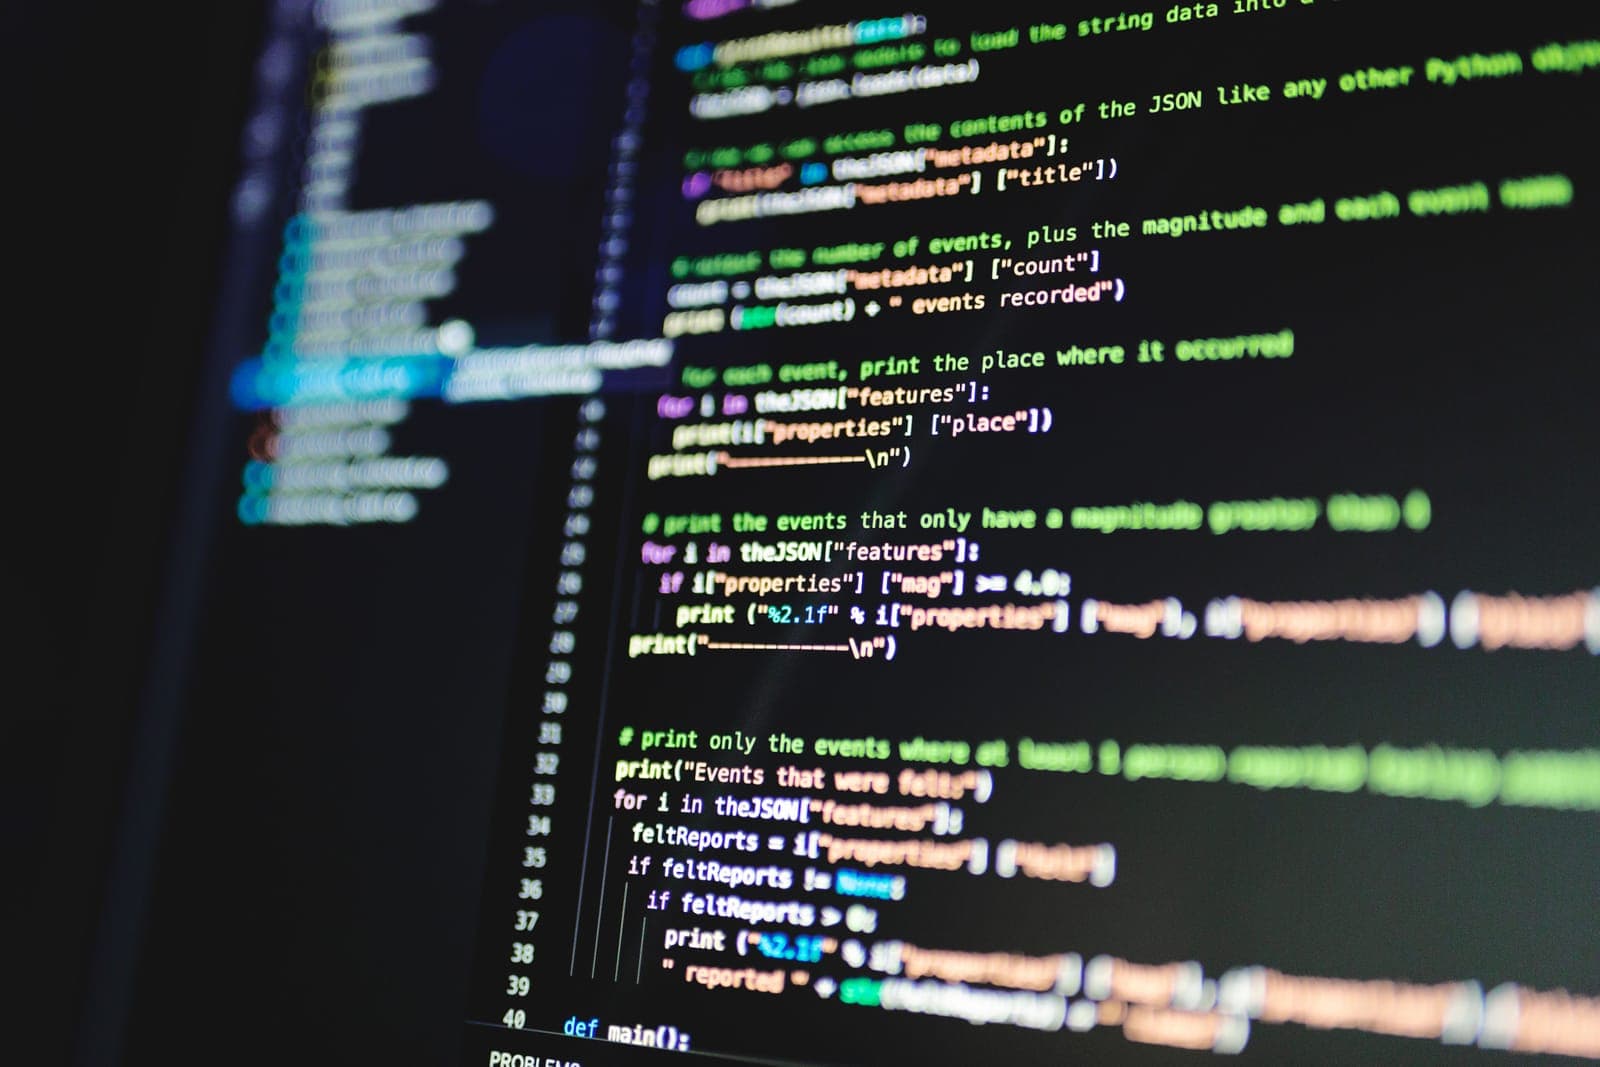
Guided video experiments
Coming in Phase 2Automatic night light
Move the slider to change the light in the room. The LED turns on when the reading falls below 400.
analogRead(A0)
614
LED
OFF
if (light < 400) → digitalWrite(LED_PIN, LOW)
For schools
Bring STEMA to Your School.
Give learners a practical route from classroom concepts to working prototypes.
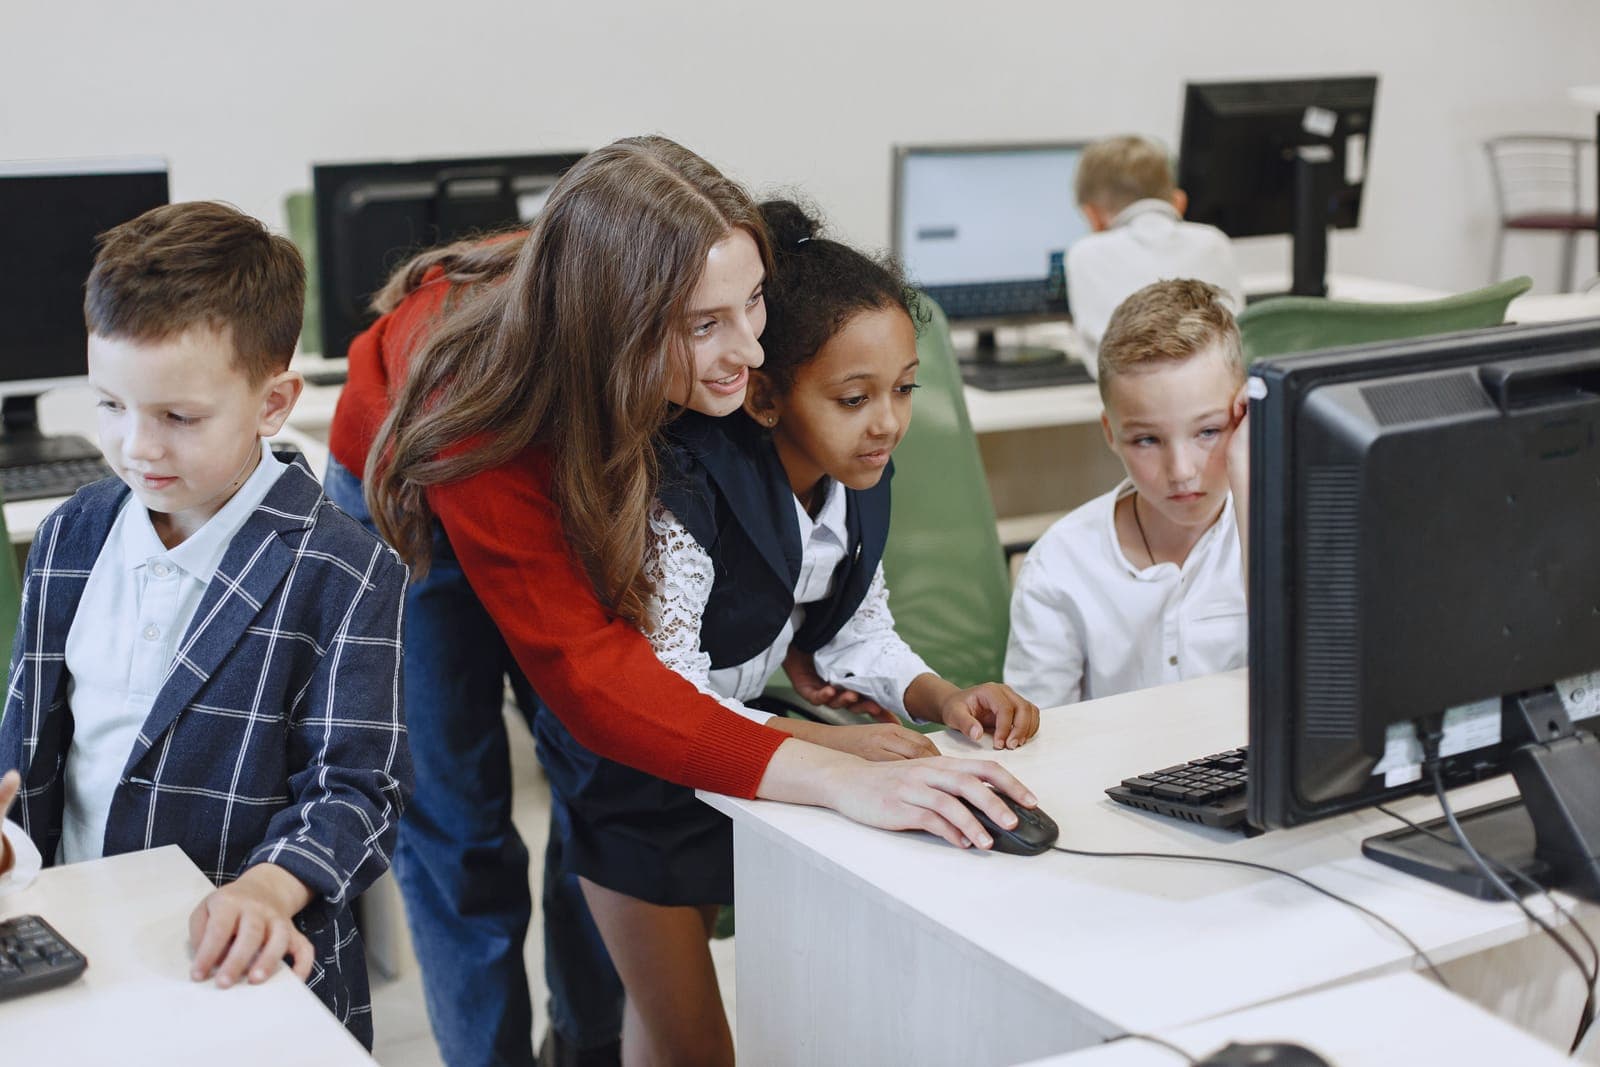
Practical skills that stick
Learners apply science and mathematics concepts by wiring, coding and testing something that visibly works.
Aligned with CBC competencies
Projects connect to CBC's focus on competencies and give learners practical evidence of what they can do.
Problem-solving and teamwork
Learners plan, test, fail safely and improve their designs together.
Solutions to real local problems
Projects draw on everyday challenges such as irrigation, waste management and energy use.
Support for teachers
Ready-made projects, safety notes and an AI mentor reduce the preparation needed for each session.
Talk to the STEMA team
Tell us about your school and we'll be in touch.